Understanding the Exposure Triangle: ISO, Aperture, and Shutter Speed
Mastering photographic exposure hinges on understanding the interplay between ISO, aperture, and shutter speed; readily available charts, often in PDF format,
visualize these relationships, aiding photographers in quickly referencing standard values for optimal image creation and control.
What is the Exposure Triangle?
The exposure triangle represents the fundamental relationship between ISO, aperture, and shutter speed – three settings that collectively determine the brightness, or exposure, of a photograph. Each element influences the amount of light reaching the camera sensor, and altering one necessitates adjustments to the others to maintain a balanced exposure.
Understanding this triangle is crucial because it empowers photographers to move beyond automatic modes and exert creative control. PDF charts illustrating these settings are invaluable tools. These charts visually demonstrate how different combinations of ISO, aperture (f-stops), and shutter speed affect the final image. They often include standard values, half-stops, and third-stops, providing a quick reference for achieving desired effects.
For instance, a chart might show how increasing the ISO allows for faster shutter speeds in low light, but at the cost of potential image noise. Similarly, it clarifies how wider apertures (lower f-numbers) create shallow depth of field, while narrower apertures (higher f-numbers) yield greater depth of field. Utilizing these charts streamlines the process of achieving correct exposure and artistic vision.
The Importance of Correct Exposure
Achieving correct exposure is paramount in photography, as it directly impacts the visual quality and impact of an image. Underexposed photos appear too dark, losing detail in shadows, while overexposed images are washed out, lacking detail in highlights. Proper exposure ensures a balanced tonal range, preserving detail and accurately representing the scene.
PDF charts detailing ISO, aperture, and shutter speed are essential for mastering exposure. They provide a visual guide to understanding how each setting contributes to the overall brightness. These charts aren’t just about technical accuracy; they unlock creative possibilities. Knowing how to manipulate these settings allows photographers to intentionally underexpose or overexpose for artistic effect.
Furthermore, understanding the exposure triangle, aided by these readily available resources, allows for consistent results across varying lighting conditions. Whether shooting in bright sunlight or dim interiors, a solid grasp of ISO, aperture, and shutter speed – and a handy chart – ensures compelling and technically sound photographs.
ISO Explained
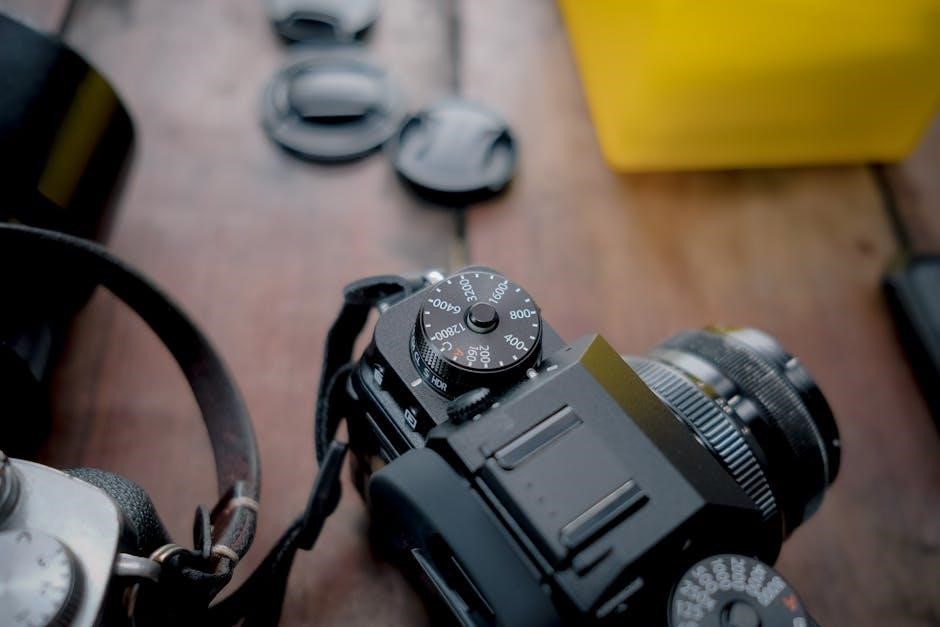
ISO measures a camera sensor’s light sensitivity; PDF charts illustrate how increasing ISO values brighten images, but can introduce digital noise, impacting image quality.
ISO Sensitivity and Image Noise
ISO sensitivity directly correlates with a camera sensor’s ability to capture light; higher ISO settings amplify the signal, enabling photography in low-light conditions, but this amplification isn’t without consequence. As ISO increases, so does the visibility of image noise – those grainy, speckled imperfections that detract from image clarity.
PDF charts detailing the exposure triangle often visually demonstrate this trade-off. They show how doubling the ISO effectively doubles the sensor’s sensitivity, but also highlight the point at which noise becomes unacceptable for a given application. Understanding this relationship is crucial. Lower ISO values (like 100 or 200) produce cleaner images, ideal for bright conditions, while higher values (800, 1600, or beyond) are necessary in darkness, accepting the compromise of increased noise. Modern cameras handle high ISO performance better, but the fundamental principle remains: sensitivity and noise are intrinsically linked.
Common ISO Values and Their Uses
Standard ISO values offer a practical framework for photographers, often clearly presented within PDF exposure charts. ISO 100 is typically used in bright sunlight, providing the cleanest image quality with minimal noise. ISO 200 extends usability to slightly overcast days or well-lit interiors. As light diminishes, ISO 400 becomes useful for general indoor photography.
For action shots or low-light scenarios, ISO 800 and 1600 are frequently employed, balancing brightness and noise. Higher values like 3200 and 6400 are reserved for very dark environments, accepting significant noise for a usable image. These values are often visually represented on charts, demonstrating the doubling of sensitivity with each step. Remember, the “correct” ISO depends on the available light and desired image quality, and PDF guides help visualize these choices.
ISO and Film Speed Correlation
Digital ISO directly correlates to film speed in traditional photography, representing the sensor’s sensitivity to light. A lower ISO (like 100) mirrors slow film, requiring ample light and producing fine grain – equivalent to minimal digital noise. Conversely, higher ISO settings (3200 or 6400) emulate fast film, suitable for low light but introducing more grain, or digital noise.
Understanding this connection, often illustrated in PDF charts detailing both film and digital equivalents, is crucial for photographers transitioning between mediums. These charts visually demonstrate how a film speed of 400 ISO translates to a similar sensitivity on a digital camera. While digital offers greater flexibility, the fundamental principle of light sensitivity remains consistent, making the film speed correlation a valuable concept, readily available in exposure guides.

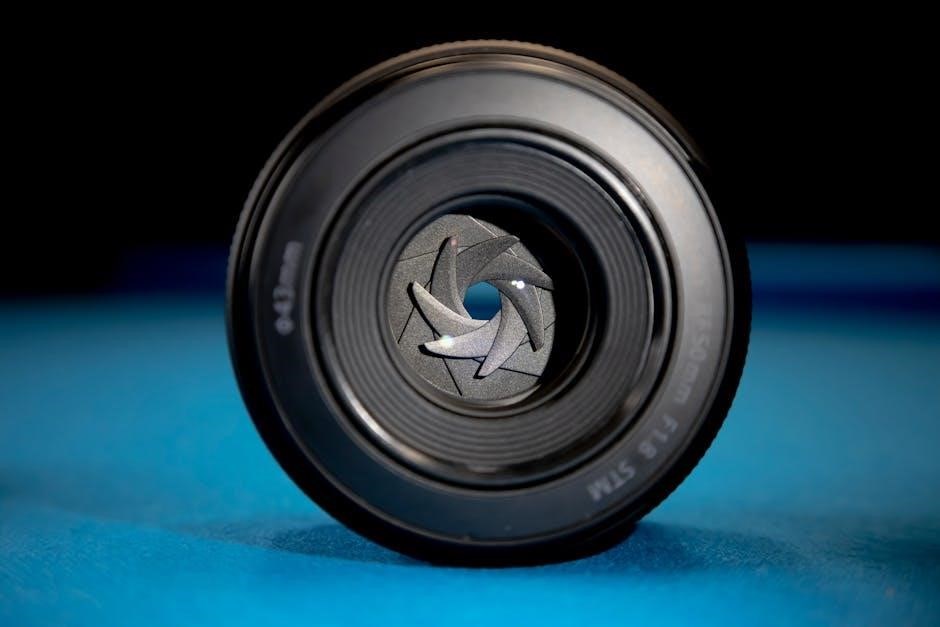
Aperture Explained
Aperture, controlling light through the lens opening, is a key element; PDF charts illustrate f-stop values and their impact on depth of field and exposure.
Aperture and Depth of Field
Aperture profoundly influences a photograph’s depth of field – the area appearing sharp in the image. Wider apertures (smaller f-numbers like f/1.8 or f/2.8) create shallow depth of field, ideal for isolating subjects with blurred backgrounds, often used in portraiture. Conversely, narrower apertures (larger f-numbers like f/16 or f/22) yield greater depth of field, keeping more of the scene in focus, suitable for landscapes.
PDF charts detailing aperture values are invaluable tools for visualizing this relationship. These charts demonstrate how each f-stop corresponds to a change in the lens opening and, consequently, the depth of field. Understanding this connection allows photographers to intentionally control which elements of the scene are sharp and which are blurred, enhancing the visual storytelling. The charts often show a progression of f-stops, illustrating the ‘full stops’ and fractional stops (half or third stops) available on most lenses, providing precise control over the final image.
Mastering aperture and depth of field is crucial for achieving creative control and effectively communicating your photographic vision.
F-Stop Values and Their Effects
F-stop values represent the ratio of the lens’s focal length to the diameter of the aperture opening. Lower f-stop numbers (e.g., f/1.4, f/2) signify larger apertures, allowing more light to enter the camera and creating a shallower depth of field. Higher f-stop numbers (e.g., f/11, f/16) indicate smaller apertures, reducing light intake and increasing depth of field.
PDF charts illustrating f-stop values are essential for photographers. These charts visually demonstrate the doubling or halving of light with each full stop change. For instance, moving from f/2.8 to f/4 halves the amount of light reaching the sensor. Understanding these relationships is vital for maintaining correct exposure.
Charts also showcase fractional stops (e.g;, f/5.6, f/8) offering finer control. Utilizing these charts as a quick reference helps photographers quickly adjust aperture settings based on desired effects and lighting conditions, ensuring well-exposed and creatively composed images.
Understanding Full Stops and Half/Third Stops
Exposure control isn’t limited to full f-stop increments; half and third stops offer nuanced adjustments. A full stop doubles or halves the amount of light, while a half stop represents a square root of two change, and a third stop an even smaller adjustment. PDF charts detailing these increments are invaluable tools.
These charts visually map out the progression, showing how moving from, for example, f/2.8 to f/3.2 (a third stop) subtly alters light intake and depth of field. Similarly, shutter speeds and ISO values are represented with these fractional steps.
Mastering these increments allows for precise exposure control, particularly useful in challenging lighting scenarios. Charts provide a quick reference, enabling photographers to fine-tune settings beyond the standard full-stop adjustments, achieving desired creative effects and optimal image quality.
Shutter Speed Explained
Shutter speed dictates how long the camera sensor is exposed to light, influencing motion depiction; PDF charts illustrate common speeds and their effects, aiding photographers’ control.
Shutter Speed and Motion Blur
Shutter speed’s relationship with motion is fundamental to photography. Slower shutter speeds (e.g., 1/30th of a second or longer) allow more light to enter the camera, but also cause moving subjects to appear blurred. This effect can be creatively employed to convey a sense of speed or movement, like flowing water or light trails. Conversely, faster shutter speeds (e.g., 1/500th of a second or faster) freeze motion, capturing sharp images of fast-moving subjects like sports players or birds in flight.
Understanding this interplay is crucial for achieving the desired aesthetic. PDF charts detailing standard shutter speeds are invaluable tools for visualizing these effects and quickly selecting the appropriate setting. These charts often demonstrate how different speeds impact the depiction of motion, providing a practical reference for photographers in various shooting scenarios. They help bridge the gap between theoretical knowledge and practical application, enabling photographers to confidently control motion blur in their images.
Common Shutter Speed Values and Applications
Frequently used shutter speeds offer distinct photographic outcomes. 1/1000s and faster are ideal for freezing fast action – sports, wildlife, or even a child’s quick movements. 1/250s – 1/500s work well for general photography, capturing everyday scenes with minimal motion blur. Around 1/60s is often used for portraits, balancing sharpness and a slight sense of natural movement. Slower speeds, like 1/30s or longer, introduce intentional motion blur for artistic effects, such as light trails or silky water.
Reference charts, often available as PDF downloads, neatly organize these values and their typical applications. These charts are incredibly helpful for beginners, providing a quick visual guide to selecting the appropriate shutter speed for different scenarios. They demonstrate how to match speed to subject movement, ensuring sharp or intentionally blurred results, and streamlining the photographic process.
Freezing Action vs. Showing Motion
The choice between freezing action and showing motion fundamentally alters a photograph’s narrative. Fast shutter speeds – 1/500s, 1/1000s, or faster – effectively “stop” motion, capturing subjects with crystal clarity even during rapid movement. This is crucial for sports photography or wildlife shots. Conversely, slower shutter speeds – 1/30s, 1/60s, or even seconds – intentionally blur movement, conveying a sense of speed or fluidity.
PDF charts detailing shutter speed values are invaluable here, illustrating the visual impact of each setting. They demonstrate how to select the appropriate speed to either halt action completely or artistically represent motion. Understanding this relationship, aided by readily available resources, empowers photographers to control the viewer’s perception of time and movement within the frame.
ISO, Aperture, and Shutter Speed Charts
Convenient PDF charts consolidate ISO, aperture (f-stop), and shutter speed values, offering a quick visual reference for photographers to understand exposure relationships and settings.
Standard Shutter Speed Chart
A standard shutter speed chart visually represents the common settings used to control the duration of light exposure on the camera sensor. These charts, frequently found as PDF downloads, typically showcase a sequence of speeds, often doubling or halving with each step. Common values include 1/8000, 1/4000, 1/2000, 1/1000, 1/500, 1/250, 1/125, 1/60, 1/30, 1/15, 1/8, 1/4, 1/2, 1 second, and bulb mode for extended exposures.
Furthermore, many charts incorporate one-third and one-half stop increments, providing finer control over exposure. Understanding these speeds is crucial for freezing motion (faster speeds) or creating motion blur (slower speeds). PDF versions are particularly useful for printing and keeping readily available during shoots, serving as a quick reference guide for selecting the appropriate shutter speed based on the desired effect and lighting conditions.
Standard Aperture (F-Stop) Chart
The standard aperture, or f-stop, chart illustrates the range of lens openings available, controlling light intake and depth of field. Commonly available as a PDF resource, these charts display values like f/1.4, f/2, f/2.8, f/4, f/5.6, f/8, f/11, f/16, f/22, and beyond. Each step represents a doubling or halving of light, impacting image brightness and the area in focus.
Lower f-stop numbers (e.g., f/1.4) create shallow depth of field, ideal for portraits, while higher numbers (e.g., f/16) yield greater depth of field, suitable for landscapes. Many charts also include one-third stop increments for precise control. A printed PDF chart serves as a valuable quick reference, assisting photographers in selecting the optimal aperture for creative effects and desired image sharpness in varying conditions.
Standard ISO Speed Chart
The standard ISO speed chart, frequently found as a downloadable PDF, details a camera’s sensitivity to light. Common ISO values include 100, 200, 400, 800, 1600, 3200, and 6400, with each doubling representing increased sensitivity. Lower ISOs (100-200) are ideal for bright conditions, producing cleaner images with minimal noise. Higher ISOs (3200+) are useful in low light, but introduce digital noise or grain.
Understanding this relationship is crucial for balancing image brightness and quality. A PDF chart provides a visual guide, helping photographers quickly determine appropriate ISO settings for different shooting scenarios. It’s important to note that increasing ISO allows for faster shutter speeds or smaller apertures, but at the cost of image clarity, making informed decisions essential.
Practical Applications & PDF Resources
Downloadable PDF charts for ISO, aperture, and shutter speed serve as invaluable quick references, streamlining settings adjustments across diverse lighting conditions for photographers.
Finding and Utilizing Free PDF Charts
Numerous online resources offer free PDF charts detailing the exposure triangle – ISO, aperture, and shutter speed. Websites like PhotographyUncapped provide comprehensive charts encompassing full, half, and third stops for both aperture (f-stops) and shutter speeds, alongside standard ISO values. A simple web search using keywords like “ISO aperture shutter speed chart PDF” will yield a plethora of options.
When selecting a chart, prioritize clarity and ease of use. Look for charts that visually represent the relationships between the settings, perhaps with corresponding exposure value (EV) indications. These charts are incredibly useful for beginners learning the fundamentals, as well as experienced photographers needing a quick reference in the field.
Utilizing these charts effectively involves understanding how each setting impacts the others. For instance, increasing ISO allows for faster shutter speeds or smaller apertures in low light, but introduces potential image noise. Regular practice with these charts will solidify your understanding and improve your photographic outcomes.
Using Charts as a Quick Reference Guide
Having a readily accessible ISO, aperture, and shutter speed chart – ideally in PDF format on your phone or printed for field use – transforms challenging shooting scenarios into manageable ones. These charts aren’t meant to dictate settings, but rather to provide a starting point for achieving correct exposure.
Consider the chart a visual aid for understanding the effects of each adjustment. If you need more depth of field, the chart quickly shows the corresponding f-stop values. Facing low light? It highlights the ISO increases needed, while reminding you of potential noise implications.
Experienced photographers use these charts to quickly assess a scene and estimate appropriate settings, then fine-tune based on their artistic vision and the camera’s meter. They are invaluable tools for consistent results and accelerating your learning process, bridging the gap between theory and practical application.
Adjusting Settings in Different Lighting Conditions
Navigating varying light demands a dynamic approach to the exposure triangle, and a PDF chart becomes essential. In bright sunlight, prioritize a lower ISO (typically 100) to minimize noise, a narrower aperture (higher f-stop) for greater depth of field, and a faster shutter speed to prevent overexposure.
Conversely, in low light, increase ISO cautiously, open up the aperture (lower f-stop) to let in more light, and slow down the shutter speed – being mindful of potential motion blur. The chart helps visualize these trade-offs.
Remember, these are guidelines. A chart illustrates how adjustments impact each other; for example, lowering the shutter speed necessitates adjusting ISO or aperture to maintain proper exposure. Practice with the chart will build intuition, allowing you to confidently adapt to any lighting situation.