
Valve guides are critical engine components, ensuring proper alignment and sealing of the valve stem. They prevent oil leakage and excessive wear, crucial for engine performance and longevity.
1.1 What Are Valve Guides?
Valve guides are cylindrical components located in the cylinder head, designed to align and support the valve stem. Typically made of durable materials like bronze, they ensure smooth valve operation by reducing friction and preventing oil leakage. Proper fitment is crucial for optimal engine performance and longevity, as worn guides can lead to oil consumption and reduced efficiency.
1.2 Importance of Valve Guides in Engine Performance
Valve guides play a pivotal role in maintaining optimal engine performance by ensuring proper valve alignment and minimizing wear. They prevent oil leakage into combustion chambers, which can lead to reduced efficiency and increased emissions. Worn guides often cause oil consumption, blue exhaust smoke, and decreased power output. Their functionality directly impacts engine longevity and overall operational efficiency, making them a critical component for consistent performance.
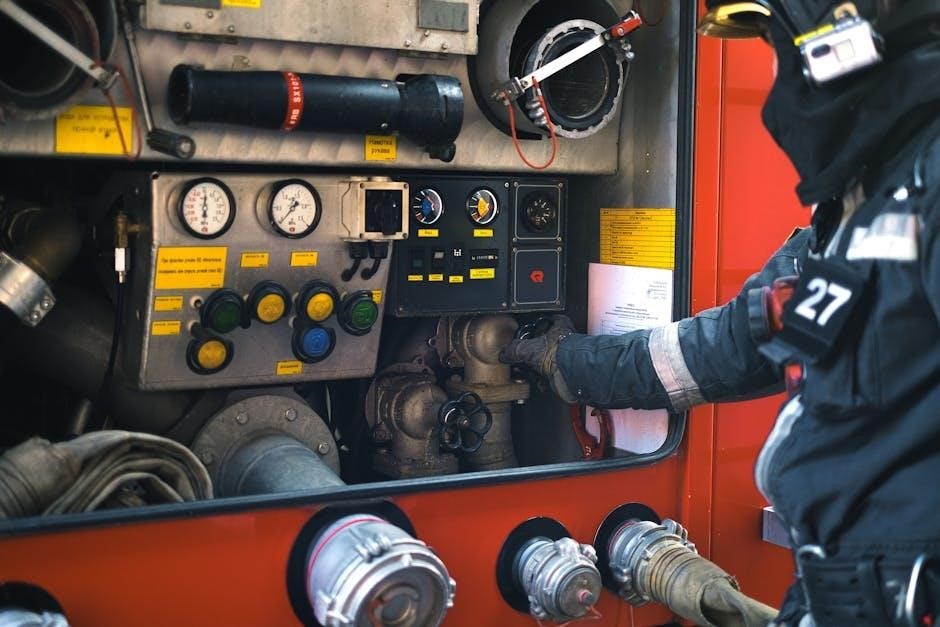
Tools and Materials Needed for Replacing Valve Guides
Essential tools include a valve guide puller, press, dial gauge, and head milling tool. Materials needed are bronze valve guides, seal kits, and snap rings for secure installation.
2.1 Essential Tools
The process requires a valve guide puller to remove old guides, a press for installing new ones, and a dial gauge to measure alignment. Additional tools include a torch for heating, milling tools for precise fitting, and a socket set for cylinder head bolts. Ensure all tools are in good condition to avoid damage during replacement.
2.2 Required Materials
Essential materials include new valve guides, valve stem seals, and gaskets. You’ll also need RTV sealant for securing components and cleaning solvent for preparing surfaces. Additionally, a valve guide installation kit may be required, depending on your engine type. Ensure all materials are compatible with your engine specifications to guarantee proper fitment and performance.

Preparation Steps Before Replacing Valve Guides
Proper preparation is crucial before replacing valve guides. Start by disconnecting the battery to ensure safety. Drain coolant and oil to prevent contamination. Label and organize all parts meticulously to avoid confusion during reassembly;
3.1 Disconnecting the Battery
Disconnecting the battery is the first step in preparing for valve guide replacement. This ensures safety by preventing any accidental engine start-ups or electrical surges. Locate the battery, typically found in the engine bay, and use a wrench to loosen the negative terminal clamp. Remove the negative cable first, followed by the positive one, to avoid electrical shocks. This step is crucial for protecting both you and your tools during the repair process.
3.2 Draining Coolant and Oil
Draining coolant and oil is essential to prevent spills and protect the engine from contamination during valve guide replacement. Use a drain pan to collect the fluids, starting with the coolant by locating the radiator drain valve. Next, drain the engine oil by removing the oil drain plug. Dispose of the fluids responsibly and check for any remaining drips before proceeding with disassembly.
3.3 Labeling and Organizing Parts
Labeling and organizing parts is crucial for efficient reassembly. Use ziplock bags or containers with labels to store small components like bolts and washers. Mark each bag with its corresponding section, such as “intake manifold bolts” or “valve train parts.” Keep larger components like the intake manifold and cylinder head separate and clean. Take photos of the setup before disassembly for reference, ensuring everything is accounted for during reassembly.

Disassembling the Engine
Disassembling the engine involves removing components to access the cylinder head. Start by detaching the intake manifold, then carefully lift the cylinder head for further work.
4.1 Removing the Intake Manifold
Removing the intake manifold provides access to the cylinder head. Disconnect electrical connectors and vacuum hoses, then loosen mounting bolts. Carefully lift the manifold to avoid damage. Label all disconnected components for easy reinstallation. This step is crucial for accessing the valve guides and ensuring proper engine disassembly. Proper labeling prevents mix-ups during reassembly. Take your time to avoid damage to gaskets or surfaces.
4.2 Taking Off the Cylinder Head
Removing the cylinder head is essential for accessing the valve guides. Start by draining coolant and oil, then disconnect all electrical and vacuum connections. Loosen head bolts in a star pattern to avoid warping. Use a head puller or lifter to carefully remove the head. Handle it with care to prevent damage. Clean the head and engine surface for proper reinstallation later. This step requires patience and precision.
Removing the Old Valve Guides
Heating the cylinder head and using a valve guide puller are common methods to safely remove old guides. Clean the area thoroughly afterward.
5.1 Heating the Cylinder Head
Heating the cylinder head to around 200°C is essential to expand the metal, making it easier to remove the old valve guides. Use a heat gun or torch to apply even heat. This process ensures the guide loosens from its bore without damage. Proper heating prevents cracking and facilitates smooth removal. A temperature gun can help monitor the heat accurately for safety and effectiveness.
5.2 Using a Valve Guide Puller
A valve guide puller is essential for safely removing old guides without damaging the cylinder head. Attach the puller to the guide, ensuring proper alignment. Apply gentle, consistent force while turning the tool to loosen and extract the guide. Avoid using brute force, as it may damage the head. This method ensures a clean and precise removal, preparing the area for the new guide installation.
5.3 Cleaning the Area
After removing the old valve guides, thoroughly clean the area using a wire brush and compressed air to eliminate debris. Apply a solvent to remove any remaining residue or oil. A clean surface ensures proper installation and seating of the new guides, preventing future performance issues. This step is crucial for maintaining engine efficiency and longevity.
Inspecting and Measuring the Cylinder Head
Inspect the cylinder head for wear or damage. Measure the valve guide bore to ensure proper fitment of the new guides, ensuring precise alignment and installation.
6.1 Checking for Wear and Damage
Visually inspect the cylinder head for cracks or scoring. Measure the valve guide bore using a dial gauge to check for excessive wear. Look for signs of excessive oil leakage or scoring on the guides. Ensure the area is clean to accurately assess any damage. If the guides are worn beyond acceptable limits, replacement is necessary to maintain proper engine function and prevent further issues.
6.2 Measuring Valve Guide Bore
Using a precision dial gauge, measure the valve guide bore to check for wear. Insert the gauge into the guide, ensuring it’s seated properly. Record measurements at multiple points to assess uniformity. Compare results with the manufacturer’s specifications to determine if the guides are within acceptable tolerance. Excessive deviation indicates the need for replacement to ensure proper valve alignment and engine performance.

Installing the New Valve Guides
Installing new valve guides requires careful alignment and proper tools. Heat the cylinder head to ensure proper fitment. Align the guide with the bore, then press it in using a hydraulic press. Ensure the guide is seated evenly and measure its height to confirm correct installation.
7.1 Aligning the New Guides
Aligning new valve guides is crucial for proper engine function. Ensure the guide is straight and matches the cylinder head’s bore. Use a dial gauge to check alignment accuracy. Proper alignment prevents uneven wear and ensures the valve stem moves smoothly. Misalignment can lead to engine performance issues and increased wear on components. Always follow manufacturer specifications for precise installation.
7.2 Pressing in the New Guides
Pressing in new valve guides requires precision and care. Use a hydraulic press or a specialized tool to ensure even force distribution. Apply a thin layer of lubricant to the guide and cylinder head. Heat the head slightly to aid installation. Align the guide with the bore and press until fully seated. Allow the head to cool before finalizing to ensure proper seating and alignment.
7.4 Final Adjustments
After pressing in the new guides, ensure they are properly seated and aligned. Use a dial indicator to check for any deviation. Apply a small amount of lubricant to the guides and surrounding area. Double-check the valve stem-to-guide clearance using a feeler gauge. Make any necessary fine adjustments to ensure proper fitment and alignment. Allow the cylinder head to cool before final inspection to ensure stability and accuracy in the adjustments.

Reassembling the Engine
Reattach the cylinder head and intake manifold, ensuring all bolts are tightened properly to manufacturer’s specifications. Reconnect any sensors or components previously disconnected.
8.1 Refitting the Cylinder Head
Reinstall the cylinder head, ensuring proper alignment with the engine block. Use a new head gasket and apply even torque in a star pattern to avoid warping. Reconnect the valve train components and ensure all parts are securely fastened. Double-check the head gasket seating and verify the engine’s readiness for reassembly.
8.2 Reinstalling the Intake Manifold
Reattach the intake manifold by aligning it properly with the engine. Apply a new gasket and ensure it’s evenly seated. Tighten the bolts in a star pattern to avoid warping, following the manufacturer’s torque specifications. Reconnect any sensors, hoses, and electrical connectors. After installation, start the engine and check for leaks around the manifold to ensure proper sealing and functionality.
8.3 Tightening All Bolts
Tighten all bolts in a star pattern to ensure even pressure. Use a torque wrench to meet the manufacturer’s specifications. Double-check each bolt for proper tension. This prevents leaks and ensures a secure seal. Consult a repair manual for specific torque values and patterns. Verify all connections are tight and no leaks are present after final tightening.

Testing and Inspection After Replacement
After reassembly, perform a test run to check for leaks or unusual noises. Inspect valve guide seals for proper alignment and ensure no oil leakage occurs.
9.1 Checking for Leaks
After replacing the valve guides, inspect for any signs of oil leakage around the valve stem area. Use a compression test or leak-down test to ensure the engine holds pressure. Start the engine and monitor for smoke or oil spots, which could indicate improper sealing. Addressing leaks promptly prevents further engine damage and maintains optimal performance.
9.2 Testing Engine Performance
After replacing the valve guides, test the engine’s performance by checking for smooth operation and improved power delivery. Ensure there’s no decrease in performance or increase in oil consumption. A well-performing engine should show consistent idle, responsive acceleration, and proper fuel efficiency. These tests confirm the success of the valve guide replacement and ensure optimal engine functionality.

Tips for DIY Enthusiasts
Use proper tools like a valve guide puller and press for accurate installation. Ensure the cylinder head is heated evenly to avoid damage during removal or fitting.
10.1 Common Mistakes to Avoid
Common mistakes include improper heating of the cylinder head, which can cause warping. Always use a valve guide puller to avoid damaging the head or guides. Ensure the new guides are properly aligned before pressing them in. Over-tightening bolts can lead to engine damage. Clean the area thoroughly to prevent debris interference. Avoid using incorrect tools, as this can result in misalignment or guide damage.
10.2 Time-Saving Tricks
Use a valve guide puller and press to save time during removal and installation. Preheat the cylinder head to avoid repeated heating cycles. Align the new guides before pressing to ensure proper fitment. Organize all parts and tools beforehand to streamline the process. Refer to a repair manual for specific tips tailored to your engine type. This will help you avoid unnecessary delays and ensure a smooth workflow.
Frequently Asked Questions
Common questions include whether valve guides can be replaced without removing the engine and how long the process typically takes. Answers vary based on engine type and condition.
11.1 Can I Replace Valve Guides Without Removing the Engine?
Replacing valve guides without removing the engine is possible but challenging. It often requires specialized tools and techniques, such as the “rope trick” for valve stem seals. However, this method is not recommended as it can lead to improper alignment and increased risk of damage. For optimal results, removing the engine or cylinder head is strongly advised.
11.2 How Long Does It Typically Take to Replace Valve Guides?
Replacing valve guides typically takes a professional mechanic a few hours, while DIY enthusiasts might spend several days. Factors like engine accessibility and the need for machine shop services can extend the time. Removing the engine or cylinder head significantly affects the duration, often making the process more efficient but labor-intensive.
Replacing valve guides is a critical maintenance task that ensures engine performance and longevity. Proper tools and techniques are essential for a successful, leak-free outcome, preventing future issues.
12.1 Final Thoughts on Changing Valve Guides
Changing valve guides requires precision and patience, as improper installation can lead to engine damage. It’s a task that demands technical skill and attention to detail. While challenging, the payoff is significant, ensuring improved engine performance and preventing costly future repairs. Always follow proper procedures and consider professional help if unsure, as the longevity of your engine depends on it.
12.2 Importance of Regular Maintenance
Regular maintenance is essential for prolonging engine life and preventing issues like valve guide wear. Consistent checks and timely replacements ensure optimal engine performance, reduce oil consumption, and prevent costly repairs. By addressing wear early, you avoid severe damage and maintain fuel efficiency. Incorporating maintenance into your routine safeguards your vehicle’s overall health and reliability.